Connecting to a machine through a serial line is a basic necessity if you happen to be an administrator of a server farm or lab. On a physical bare metal machine it easy to connect a null modem cable and configure & be done with it. So for a person who is done that would usually hope to do it on VirtualSetup and if that happens to have no network connectivity initially to do a ssh it is a very basic requirement.
This post is geared towards linux hosts and guests with KVM and libvirt library, with virt-manager.
This post is also geared for Guest Linux OS , more recent with systemd to be exact. Since systemd has caused major changes in /etc folder we will be going over those few commands too.
Here is a screenshot of an already running VM of CentOS 7.
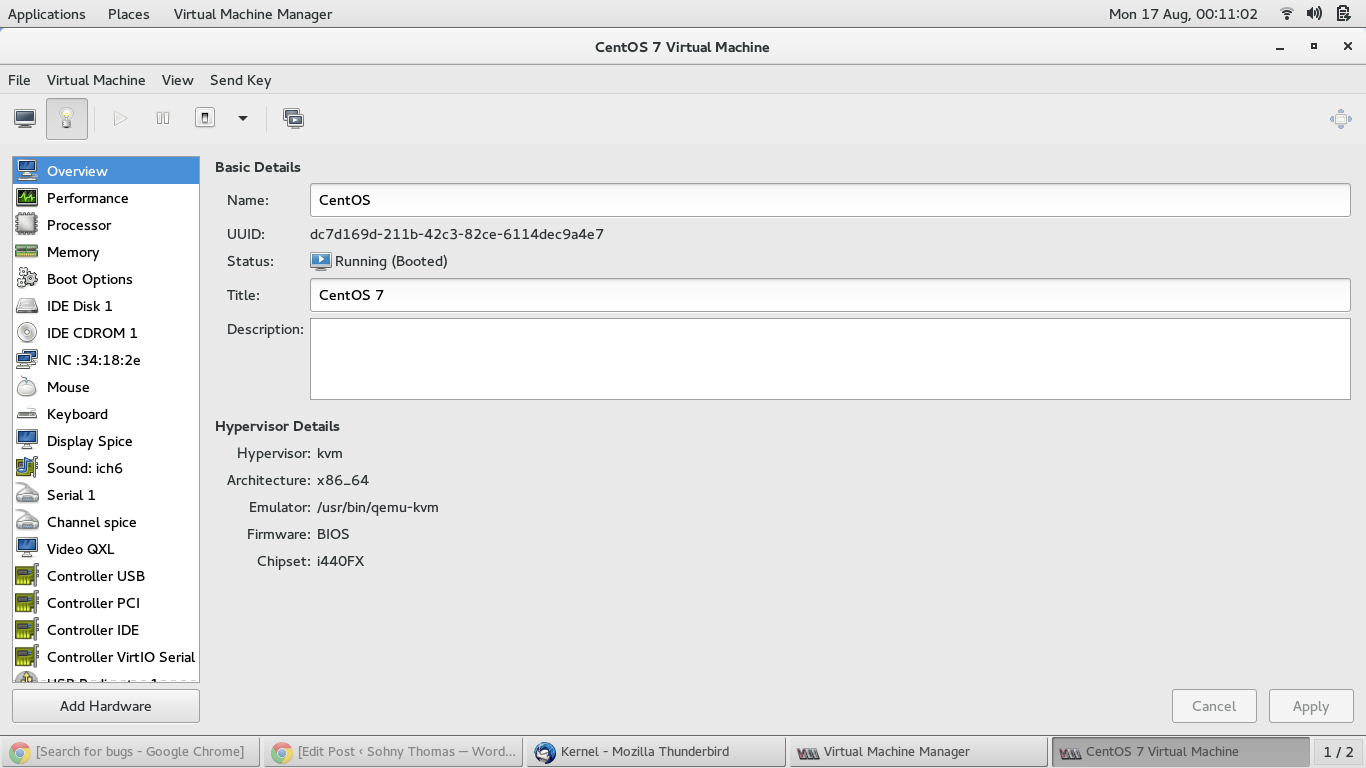

As the second Image shows the serial is already created by default if you use virt-manager to create the VM. If its not present click Add Hardware to create one serial connection. Once this is created you can connect to the serial by either:
virsh console CentOS
or the VM number which is 4 in my case
virsh console 4
or the regular minicom connection
minicom -D /dev/pts/0
Once that is added the rest of the settings is part of CentOS Guest. We want the entire action that happens on the screen of the machine terminal to be present on the serial console too. Lets start with grub. This configuration is for grub 2. So we will edit the file
/etc/default/grub
The content of which will be :
GRUB_TIMEOUT=5
GRUB_DEFAULT=saved
GRUB_DISABLE_SUBMENU=true
GRUB_TERMINAL_OUTPUT="console"
GRUB_CMDLINE_LINUX="rhgb quiet"
GRUB_DISABLE_RECOVERY="true"
So edit the highlighted line and add two more line as shown:
GRUB_TIMEOUT=5
GRUB_DEFAULT=saved
GRUB_DISABLE_SUBMENU=true
GRUB_TERMINAL_INPUT="console serial"
GRUB_TERMINAL_OUTPUT="console serial"
GRUB_SERIAL_COMMAND="serial --unit=0 --speed=115200 --word=8 --parity=no --stop=1"
GRUB_CMDLINE_LINUX="rhgb quiet"
GRUB_DISABLE_RECOVERY="true"
We have added the INPUT and OUTPUT so that we are able to view and also change at the grub prompt or pause the countdown to default OS. We also added the serial terminal baudrate and 8 word parity, which can also be used on baremetal setup too ,though it doesn’t matter in a VM setup.
Moving on we need to see what the kernel does. So lets edit the grub config for the kernel command line parameter.
/boot/grub2/grub.cfg
search for the linux16 line under the CentOS boot menuentry, which should look like this
linux16 /vmlinuz-3.10.0-229.el7.x86_64 root=/dev/sda1 ro rhgb quiet
Edit it and add the serial specific config as follows, you can remove the quiet part if you want the kernel to spew out everything at you .
linux16 /vmlinuz-3.10.0-229.el7.x86_64 root=/dev/sda1 ro rhgb quiet console=ttyS0,115200 console=tty0
Save the grub.cfg and exit. This sets up the kernel to show all its messages on the serial.
The last part is to make sure you are able to login on serial console. Now this is tricky in systemd machines , earlier it was simpler to edit /etc/inittab or /etc/init.d/serial-ttyS0.conf. Not Now.
Now you need to start the getty service on ttyS0
systemctl start serial-getty@ttyS0.service
and to permenantly run it every time
systemctl enable serial-getty@ttyS0.service
And one more thing edit /etc/securetty and add ttyS0 to it so that you have permission from selinux to be able to login
Thats it, now reboot and watch the magic happen and let me know in the comments on any issues you face
